사용자 uid로 아바타 이미지 만들기
개발 이야기최근 블로그를 만들고 호작질을 하다보니 뭔가 또 재미난 생각이 떠올랐다.
내 홈페이지에 로그인하는 사용자는 구글이나 페이스북 등 SNS로 로그인 할 수도 있고, 이메일 + 비번으로 로그인할 수도 있다. SNS 로그인의 경우 사용자가 설정해둔 프로필 사진이 제공되기 때문에, 그걸 보여주면 된다. 하지만 이메일로 로그인했을 경우 내가 알 수 있는 데이터는 오직 Firebase Authentication에서 정한 uid와 사용자 이메일 주소 밖에 없다.
이메일 주소의 경우 아무리 마스킹 처리를 한다고 해도 타인에게 노출되면 영 꺼림찍할 수 있어 익명성을 헤친다. 그래서 남은건 랜덤으로 나오는 uid 뿐이다. 이 uid를 이용하여 어떻게 하면 사용자마다 각기 개성이 다른 고유의 아바타 이미지를 만들고 싶었다.
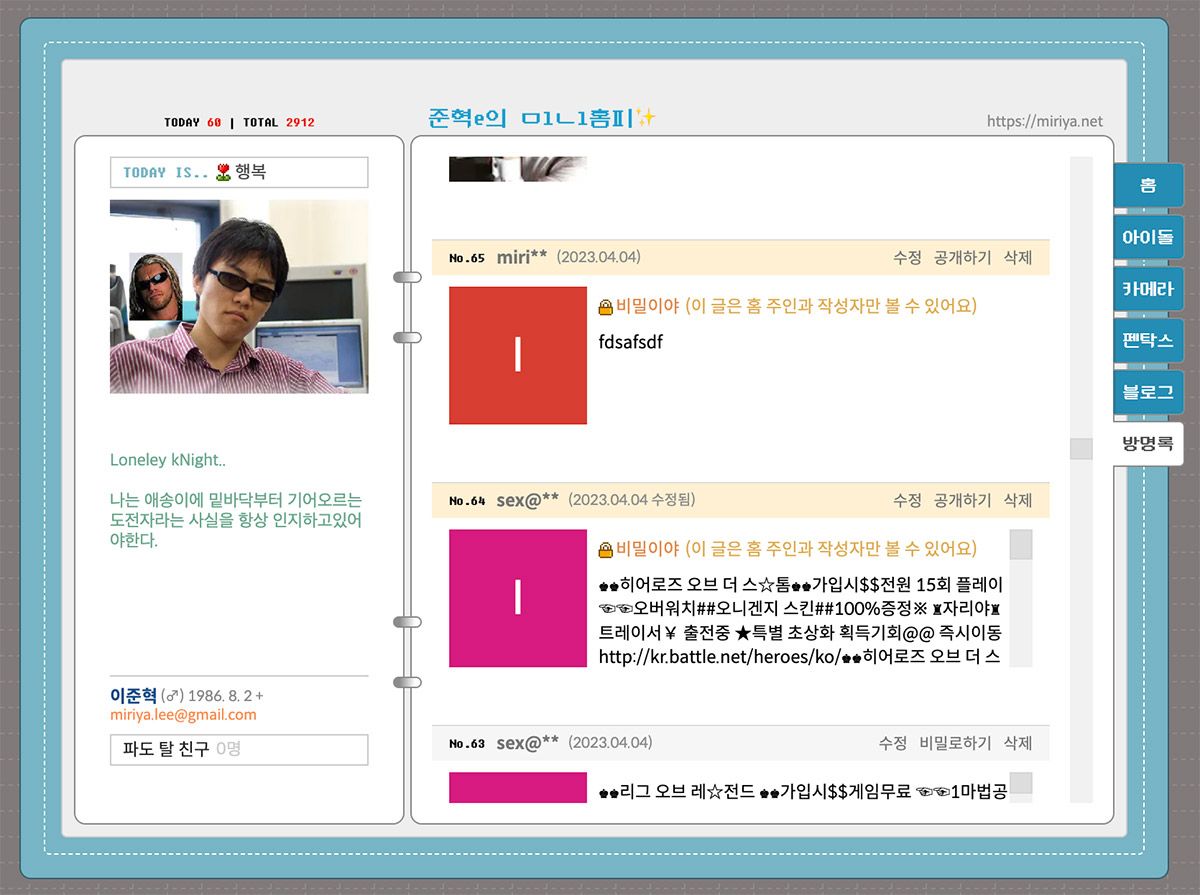

기존에는 이렇게 react-avatar 라이브러리를 사용하여 임의의 아바타를 보여주고 있었다. 근데 이게 사용은 편하지만 단색 배경에 글씨만 달랑 있는거라 영 멋도 없고 재미도 없더라.
그러던 차에 이번에 og:image를 동적으로 생성하는 법을 배우면서 아바타도 이렇게 만들어버리면 라이브러리 없이 Next.js의 기능을 이용해서 만들 수 있지 않을까..? 라는 생각이 들었다. Next.js의 ImageResponse를 이용하면 적당히 마크업하여 이미지를 생성할 수 있으니 무척 쓸만한 방법이 될 것 같다. 아아아아.. 흥분된다... 아아 정말 보잘것 없으면서도 재미있을것 같다!!
ImageResponse
일단 첫단계로 ImageResponse가 제대로 동작하는지 확인해보자.
// src/app/api/common/avatar/[uid]/route.tsx

import { ImageResponse, NextRequest } from 'next/server';

export const contentType = 'image/png';
export const runtime = 'edge';

const avatar = async (uid: string) => {
  try {
    const font = await fetch(new URL(`${process.env.NEXT_PUBLIC_LOCAL_FETCH_URL}/fonts/SpoqaHanSansNeo-Bold.ttf`)).then(
      (res) => res.arrayBuffer(),
    );

    return new ImageResponse(
      (
        <div
          style={{
            width: '100%',
            height: '100%',
            display: 'flex',
            alignItems: 'center',
            justifyContent: 'center',
          }}
        >
          <p
            style={{
              fontSize: 36,
              fontWeight: 500,
              fontFamily: 'Spoqa',
              color: 'red',
              textAlign: 'center',
            }}
          >
            {uid.slice(0, 1)}
          </p>
        </div>
      ),
      {
        width: 64,
        height: 64,
        fonts: [
          {
            name: 'Spoqa',
            data: font,
            weight: 700,
            style: 'normal',
          },
        ],
      },
    );
  } catch (error) {
    // eslint-disable-next-line no-console
    console.log(error);
    return null;
  }
};

interface Props {
  params: {
    uid: string;
  };
}

export const GET = async (_: NextRequest, { params: { uid } }: Props) => {
  return avatar(uid);
};
저번 og:image 생성과 코드는 거의 동일한데, 다만 경로가 src/app/api/common/avatar/[uid]/route.tsx이므로, api 라우트 규칙에 따라 짜야 한다. 그래서 맨 아래 export에 GET을 박아주는 정도로만 수정했다. uid의 첫글자만 보여주도록 slice 한번 먹이고, 눈에 잘 띄라고 글씨색은 레드 박았다. 이렇게 이미지 리턴해주는 API를 짰으면 다음과 같이 사용하는 부분을 작성한다.
import Image from 'next/image';

interface Props {
  uid: string;
  src?: string | undefined | null;
  alt?: string;
  size: number;
}

const ProfileImageWithFallback = ({ src, uid, alt, size }: Props) => {
  return <Image src={src || `/api/common/avatar/${uid}`} alt={alt ?? ''} width={size} height={size} />;
};

export default ProfileImageWithFallback;
이렇게 짠 다음 요 컴포넌트를 다음과 같이 사용하는거지..
            <div className={styles.profileWrapper}>
              <ProfileImageWithFallback
                src={comment.author.profileUrl}
                uid={comment.authorId}
                alt=''
                size={profileSize ?? 18}
              />
            </div>
이렇게 하면 profileUrl이 없을 경우, uid를 이용해서 이미지를 생성하게 된다.


이런 식으로 아주 잘 나오는 것을 확인할 수 있다. 가로세로 사이즈도 아까 적용한대로 64x64로 잘 뜬다. 잘 안되면 뭐 니가 잘못 짰겠지..
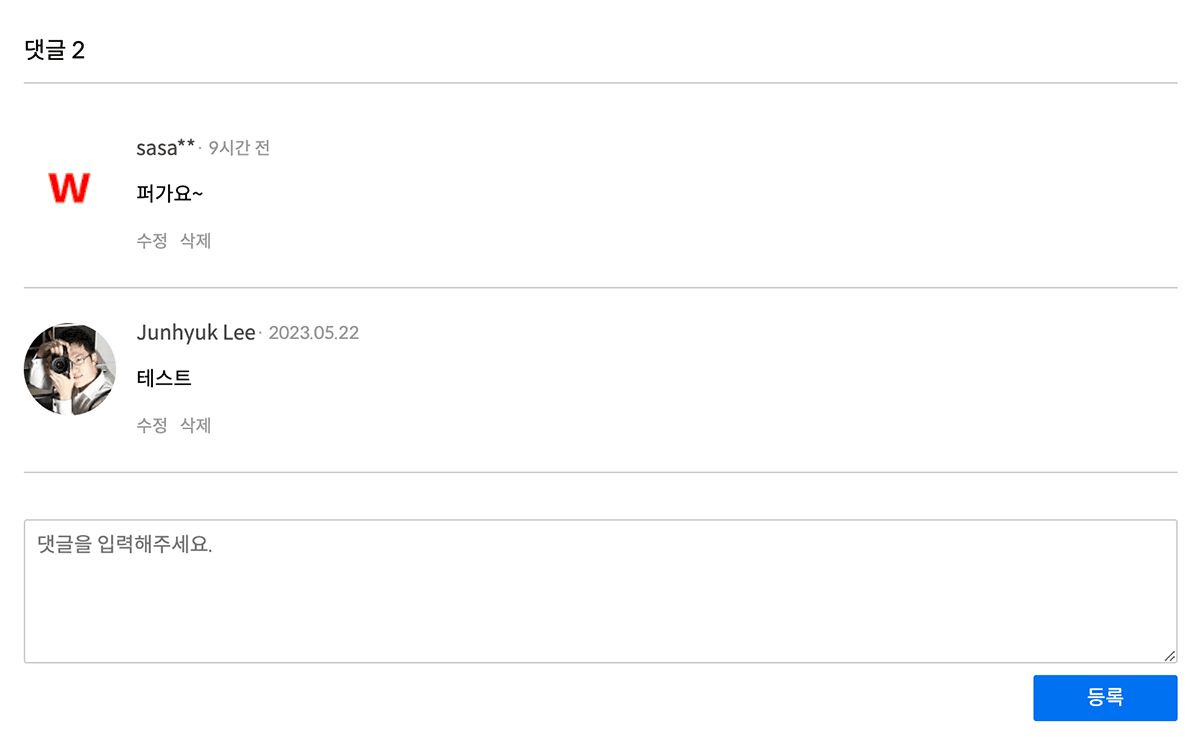

댓글창에 보이는 이미지도 아주 잘 나온다.
좀 더 꾸며보기
일단 잘 나오는건 확인했는데, 문제는 간지가 안난다는거다. 개발은 모름지기 간지가 나야한다. 투명 바탕에 빨간 글씨 너무 재미 없잖아? 다음 단계로 사용자 uid에서 HEX 값을 추출하여 고유한 배경색을 넣어보자. 그리고 글씨도 흰색으로 좀 바꾸고.
const hexEncode = (str: string) => {
  let result = '';
  for (let i = 0; i < str.length; i++) {
    result += str.charCodeAt(i).toString(16);
  }
  return result;
};
이 함수는 문자열을 hex 코드로 바꾸는 함수다. toString(16)이 String에도 가능했으면 좋겠지만, 아쉽게도 String.prototype.toString() 은 파라미터를 받지 않는다. Number.protype.toString()만 파라미터를 받아서 어쩔 수 없었다.
// uid의 뒷 10글자를 hex로 변환하여 컬러코드로 만든다.
const hex = hexEncode(uid.slice(-10)).substring(0, 6);

return new ImageResponse(
  (
    <div
      style={{
        width: '100%',
        height: '100%',
        display: 'flex',
        alignItems: 'center',
        justifyContent: 'center',
        backgroundColor: `#${hex}`,
      }}
    >
아까 그 코드에 위와 같이 hex 값을 백그라운드 컬러로 넣어보자.
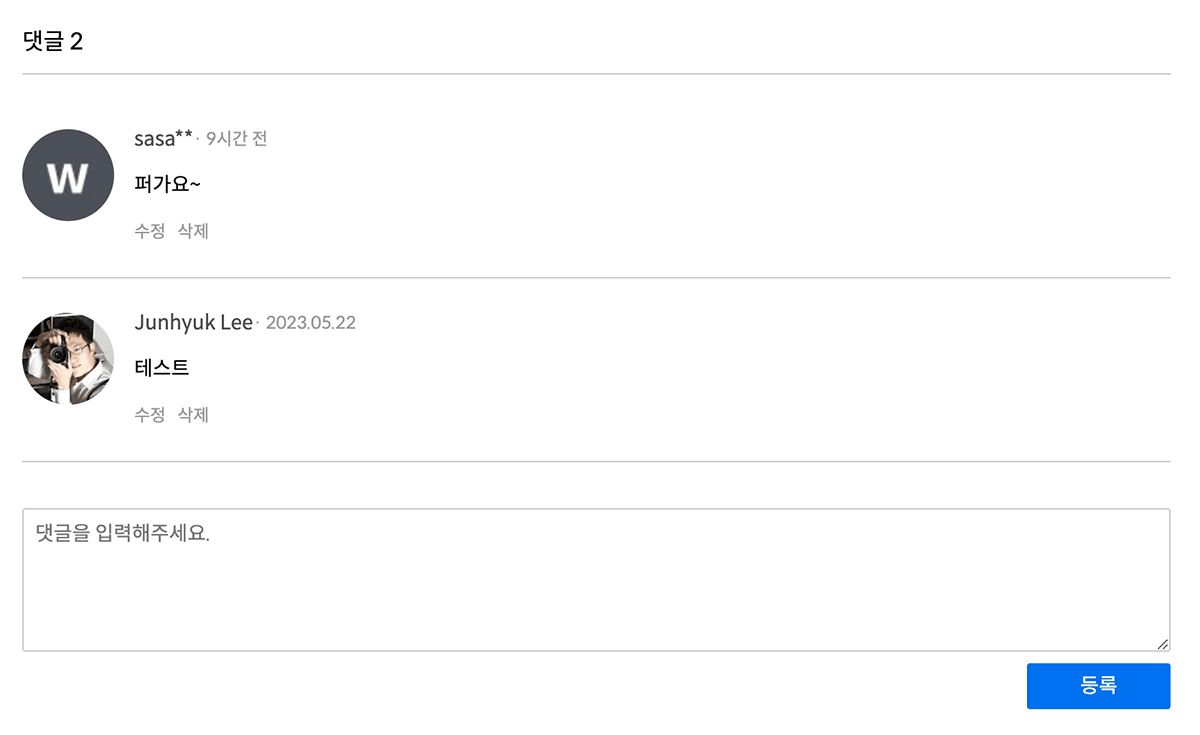

음... 좀 더 구리고 무섭게 변해버렸다. 일단 단색은 좀 아닌것 같다. 지금이야 어두운 회색 톤 배경색이 나왔지만, uid가 운 안좋게 흰색을 hex 값으로 리턴했을 경우 노답이 된다.
더 빡쎄게 꾸며보기
흠...... 그렇다면 역시 좀 더 복잡하게 만들어야겠다. 당장 떠오르는 아이디어는 hex 값을 여러개를 뽑아서 4x4로 사각형 모자이크 패턴을 만든 다음 앞에 글자를 흰색으로 박는 것이다. 어려울것 같진 않다.
    const hex = hexEncode(uid);
    const longHex = hex + hex.split('').reverse().join('');
    const hexArr = longHex.match(/.{1,6}/g)?.slice(0, 16);
첫번째 줄은 그냥 uid에서 긴 hex 코드 뭉치 뽑기,
두번째 줄은 긴 hex 코드가 더 길어지게 한번 뒤집어서 합치기. uid의 길이에 비해 뽑혀 나오는 hex 코드가 조금 짧기도 하고, uid에 1바이트 숫자가 많이 포함되어있을 경우 더 짧아질 것 까지 여분을 좀 두기 위해서다.
세번째 줄은 합친 아주 긴 hex 코드를 6개 단위로 잘라 배열을 만들고, 16개를 뽑아내는 것이다.
{hexArr?.map((h, i) => {
  const key = `hex-${i}`;
  return (
    <div
      key={key}
      style={{
        position: 'absolute',
        top: `${parseInt(`${i / 4}`, 10) * 25}%`,
        left: `${(i % 4) * 25}%`,
        width: '25%',
        height: '25%',
        backgroundColor: `#${h}`,
      }}
    />
  );
})}
그리고 이렇게 맵 돌려서 배경에 깔아준다. 모자이크 패턴을 만들기 위해 position을 absolute로 지정하고, x축과 y축 좌표를 계산하기 위해 % 4 해주고 / 4 해주는 작업이 들어갔다. 아악 재미있군.
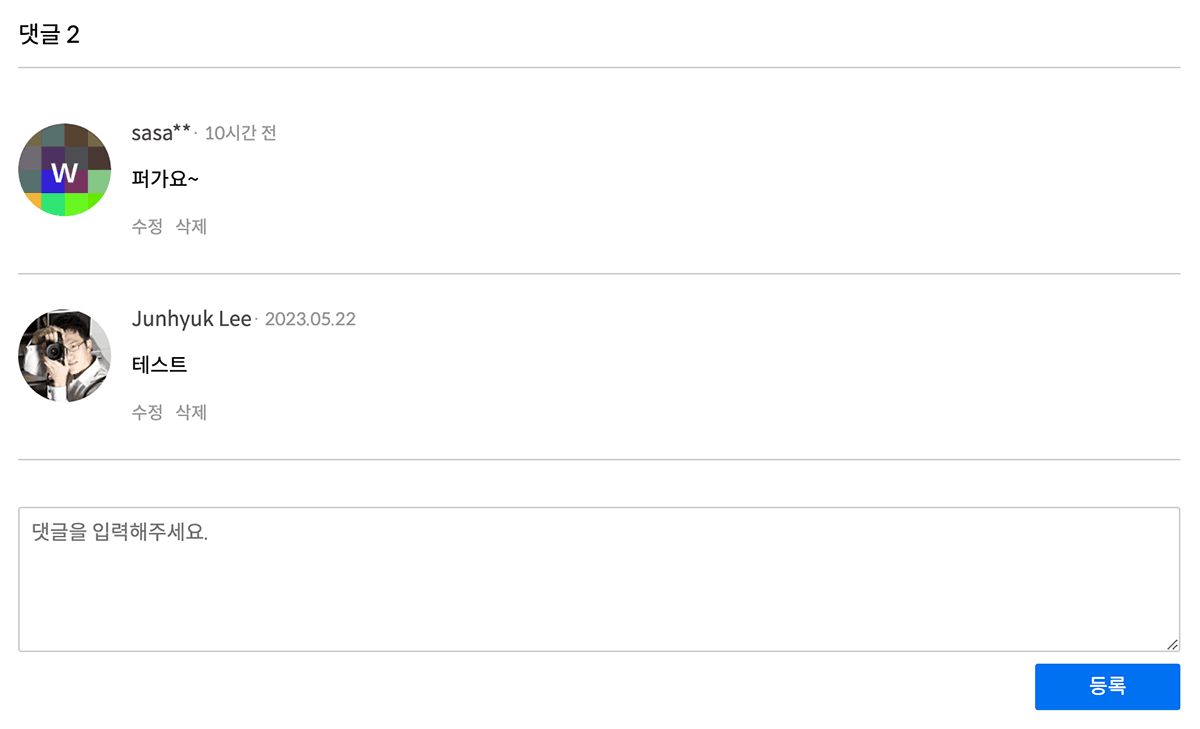

그리고 결과물. 엄... 뭔가 좀 구린데? 흔한 양산형 아바타같이 나와버렸다. 그대로 쓰기 뭐하니 여기다 약간 데코레이션을 더 줘보자.
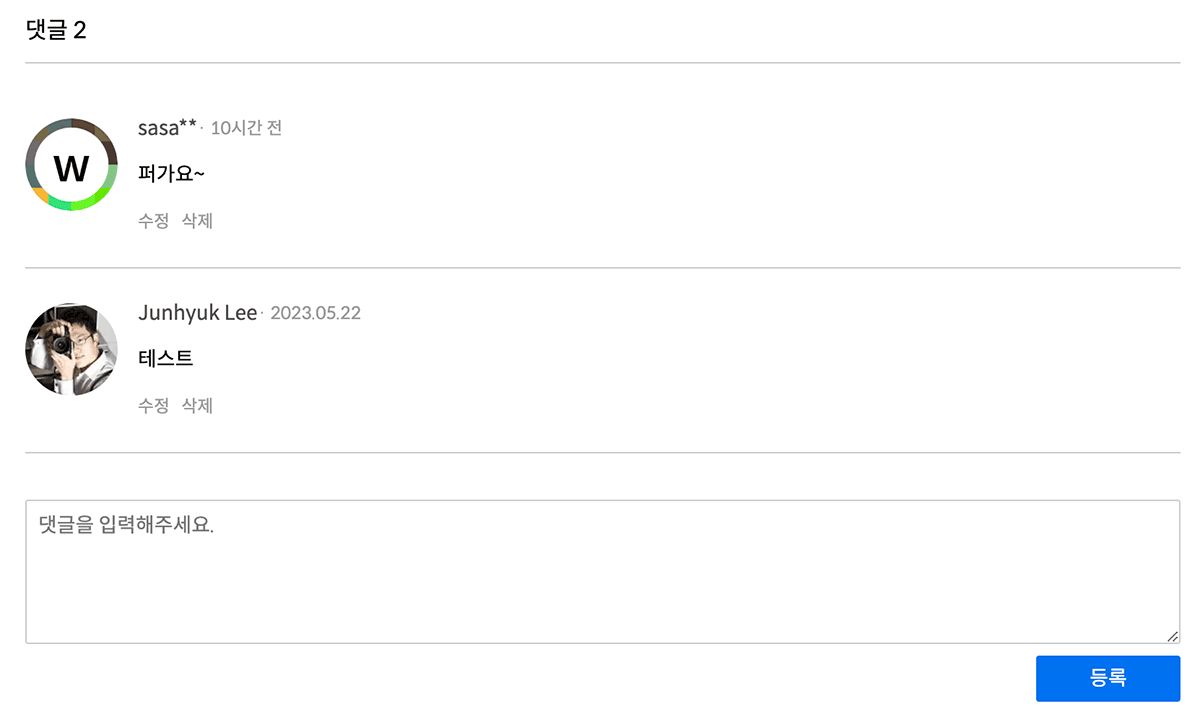

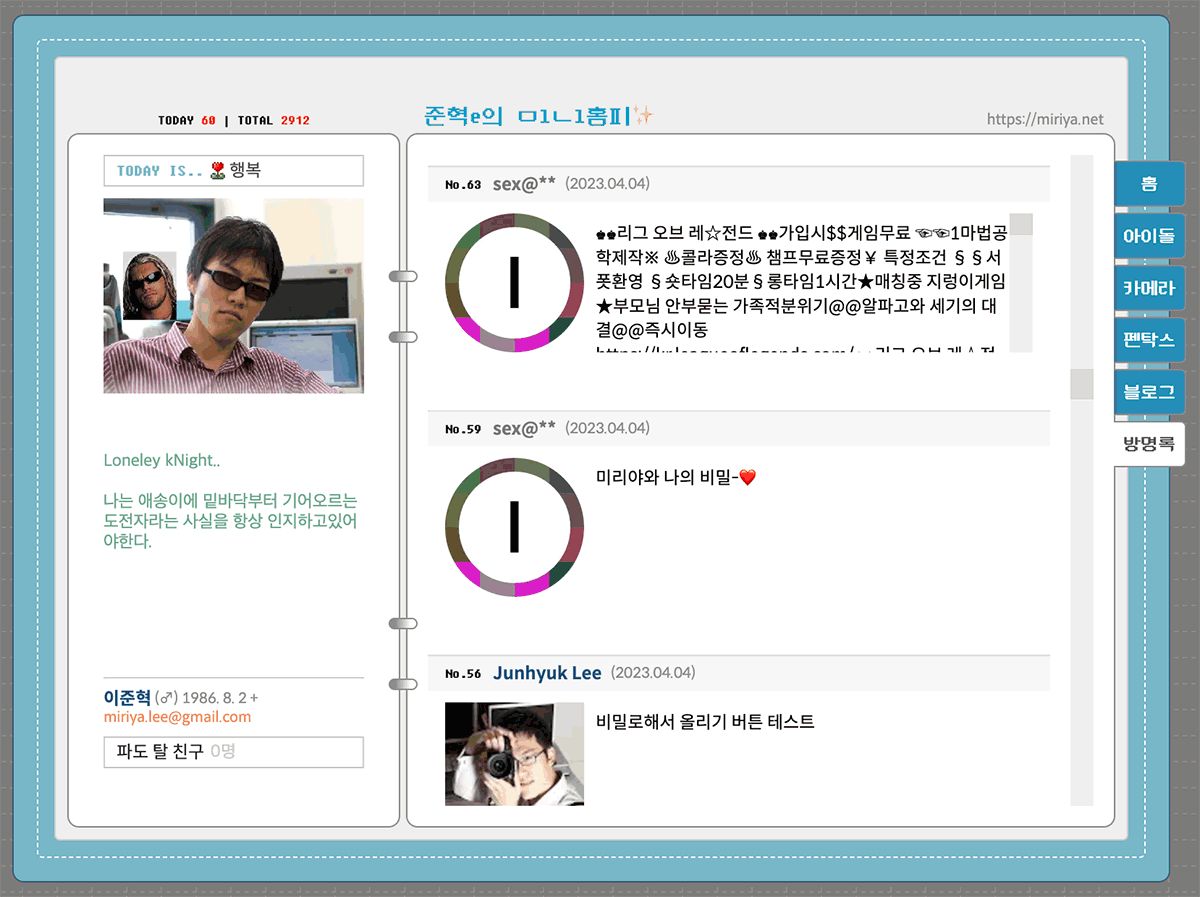

오 약간 그럴싸하게 뽑힌것 같다. 방명록에 테스트를 빙자해서 쳐들어온 트롤 놈들은 무시해주자. 좀 더 색상이 화려하고 다채로웠으면 좋겠지만, 랜덤으로 도는 색상이다보니 무리가 있을 것 같다. 하지만 조금만 더...
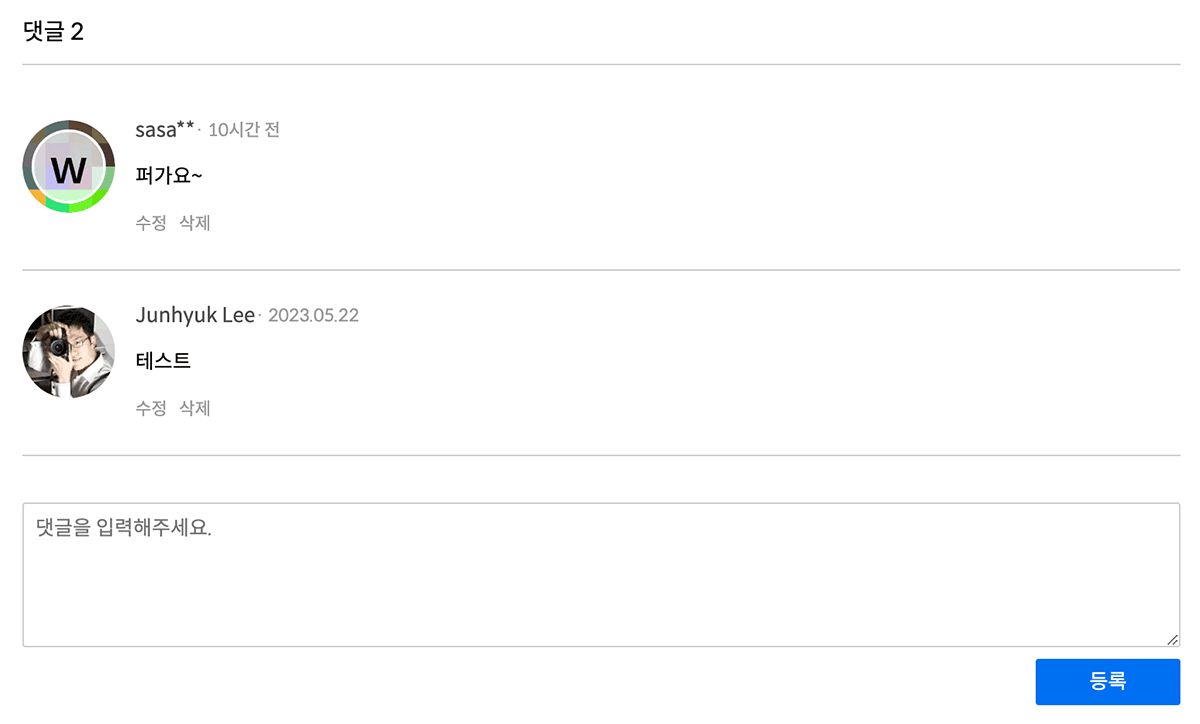


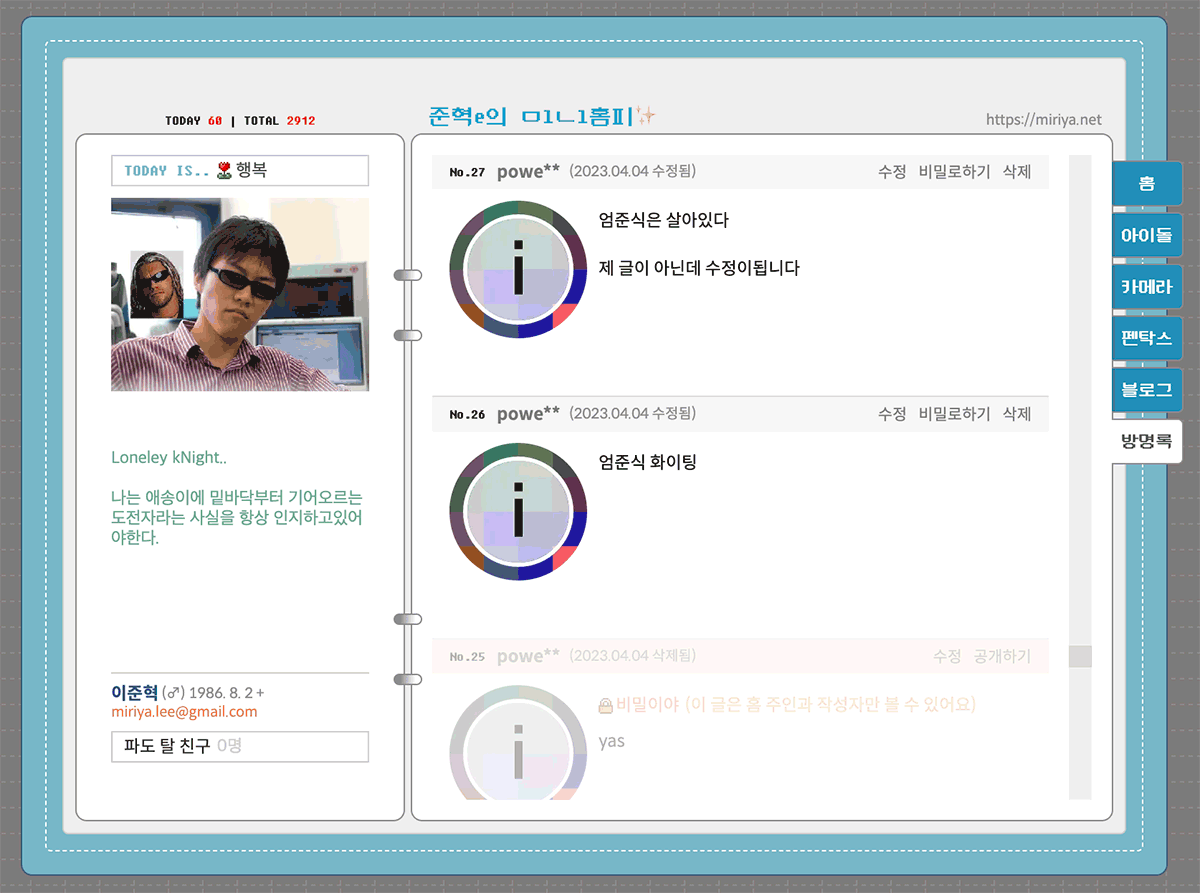
이게 일단 최종본. 여기까지 하고 턴을 종료한다.
완성한 코드는 다음과 같다.
import { ImageResponse, NextRequest } from 'next/server';

export const contentType = 'image/png';
export const runtime = 'edge';

const hexEncode = (str: string) => {
  let result = '';
  for (let i = 0; i < str.length; i++) {
    result += str.charCodeAt(i).toString(16);
  }
  return result;
};

const avatar = async (uid: string) => {
  try {
    const font = await fetch(
      new URL(`${process.env.NEXT_PUBLIC_LOCAL_FETCH_URL}/fonts/SpoqaHanSansNeo-Medium.ttf`),
    ).then((res) => res.arrayBuffer());

    const hex = hexEncode(uid);
    const longHex = hex + hex.split('').reverse().join('');
    const hexArr = longHex.match(/.{1,6}/g)?.slice(0, 16);

    return new ImageResponse(
      (
        <div
          style={{
            width: '100%',
            height: '100%',
            display: 'flex',
            borderRadius: '50%',
            overflow: 'hidden',
          }}
        >
          {hexArr?.map((h, i) => {
            const key = `hex-${i}`;
            return (
              <div
                key={key}
                style={{
                  position: 'absolute',
                  top: `${parseInt(`${i / 4}`, 10) * 25}%`,
                  left: `${(i % 4) * 25}%`,
                  width: '25%',
                  height: '25%',
                  backgroundColor: `#${h}`,
                }}
              />
            );
          })}
          <div
            style={{
              position: 'absolute',
              top: '10%',
              right: '10%',
              bottom: '10%',
              left: '10%',
              display: 'flex',
              alignItems: 'center',
              justifyContent: 'center',
              border: '6px solid white',
              borderRadius: '50%',
            }}
          />
          <div
            style={{
              position: 'absolute',
              top: '13%',
              right: '13%',
              bottom: '13%',
              left: '13%',
              display: 'flex',
              alignItems: 'center',
              justifyContent: 'center',
              backgroundColor: 'rgba(255, 255, 255, 0.7)',
              borderRadius: '50%',
            }}
          />
          <div
            style={{
              width: '100%',
              height: '100%',
              display: 'flex',
              alignItems: 'center',
              justifyContent: 'center',
            }}
          >
            <p
              style={{
                fontSize: 96,
                fontWeight: 400,
                fontFamily: 'Spoqa',
                color: 'black',
                textAlign: 'center',
              }}
            >
              {uid.slice(0, 1)}
            </p>
          </div>
        </div>
      ),
      {
        width: 192,
        height: 192,
        fonts: [
          {
            name: 'Spoqa',
            data: font,
            weight: 700,
            style: 'normal',
          },
        ],
      },
    );
  } catch (error) {
    // eslint-disable-next-line no-console
    console.log(error);
    return null;
  }
};

interface Props {
  params: {
    uid: string;
  };
}

export const GET = async (_: NextRequest, { params: { uid } }: Props) => {
  return avatar(uid);
};